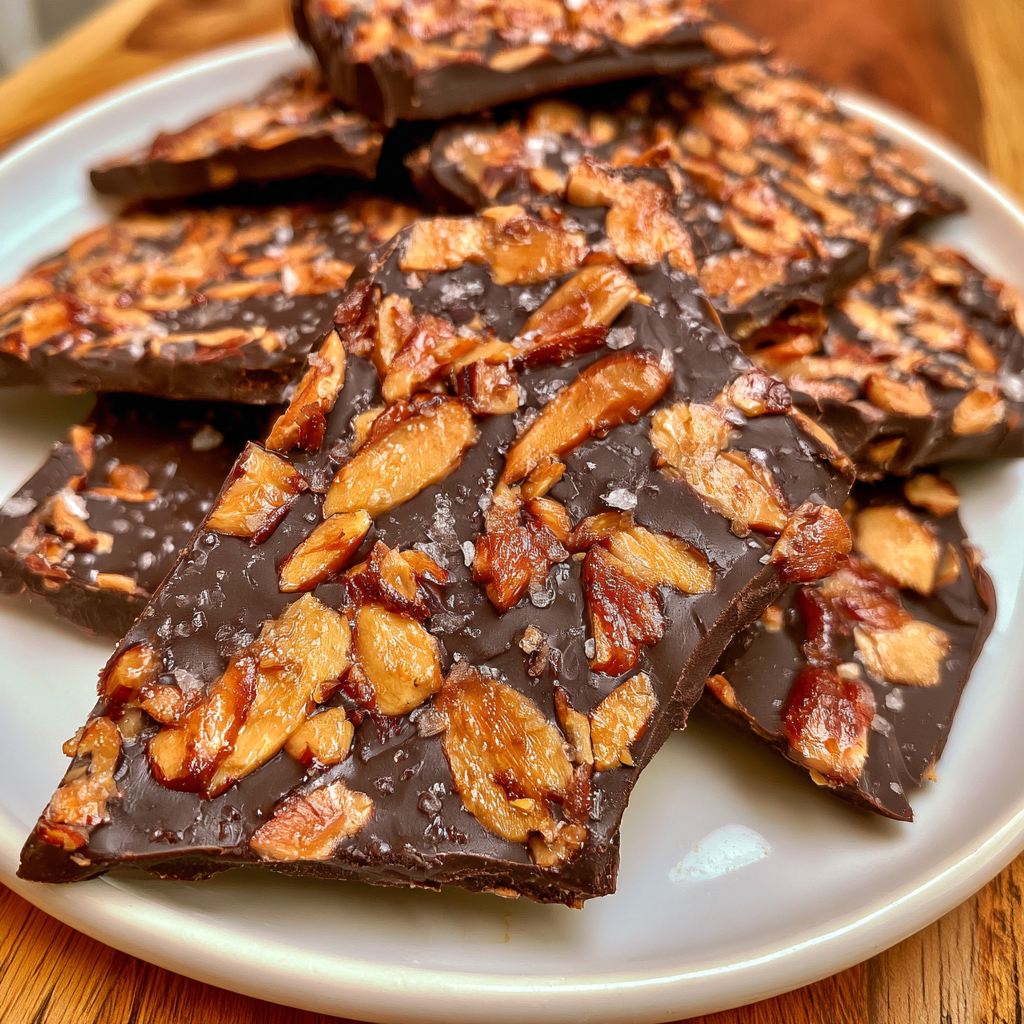
There is something undeniably comforting about a treat that comes together without ever turning on the oven. These no bake chocolate oat bars offer a perfect harmony of buttery, toasted oats and a rich, creamy chocolate peanut butter center that melts in your mouth with every single bite.
This delightful dessert combines the chewy texture of hearty oats with a silky, decadent filling and a delicate chocolate drizzle for a polished finish.
Recipe Details
- Flavor Profile: A classic combination of warm brown sugar and vanilla paired with the deep, nutty profile of peanut butter and semi-sweet chocolate.
- Texture: A delightful contrast between the chewy oat base and the smooth, creamy fudge center.
- Total Time: Approximately 30 minutes of active prep, plus several hours of chilling time to ensure the bars set perfectly.
- Difficulty: Very easy, making it an ideal project for busy afternoons or when you need a crowd-pleasing dessert on short notice.
What You’ll Need
The foundation of these bars relies on a simple, stove-top oat mixture that provides structure and a lovely toasted flavor. The filling is a dream team of creamy peanut butter and high-quality chocolate chips, which creates a rich, decadent layer that binds everything together. By utilizing pantry staples like butter and brown sugar, you can achieve a bakery-quality result with minimal fuss.
Ingredient Notes
- Butter – Use unsalted butter to maintain complete control over the flavor profile of the oat base.
- Brown Sugar – Packing the sugar firmly when measuring ensures the correct balance of moisture and sweetness.
- Vanilla Extract – A splash of pure vanilla adds a necessary warmth that elevates the simple oat base.
- Quick Cooking Oats – These provide the perfect texture for no bake bars, as they absorb the butter and sugar mixture easily while remaining chewy.
- Semisweet Chocolate Chips – These provide the ideal balance of cocoa intensity, balancing out the sweetness of the peanut butter layer.
- Creamy Peanut Butter – Opt for a standard creamy variety to ensure a smooth, uniform texture in the middle layer.
Add-ins and Substitutions
- Sea Salt – A tiny pinch of flaky sea salt sprinkled over the final chocolate drizzle can heighten the sweetness and create a sophisticated flavor profile.
- Nut Variations – If you prefer a bit of crunch, you can stir a handful of finely chopped roasted peanuts into the peanut butter layer.
- Extracts – For a slightly different twist, you can substitute a small amount of almond extract for the vanilla to pair with the peanut butter.

How to Make No Bake Chocolate Oat Bars
Making these bars is a straightforward process that rewards you with consistent, delicious results every time. Follow these steps to ensure your bars hold their shape and deliver that signature chewy texture.
- Begin by preparing a 9×9-inch pan. You can either grease the pan thoroughly or line it with parchment paper for easy removal.
- In a medium pot, melt the butter over low heat. Once liquid, stir in the brown sugar and vanilla extract until well combined.
- Add the quick cooking oats to the pot. Stir constantly and cook on low heat for a few minutes, allowing the oats to lightly toast and absorb the buttery goodness.
- Transfer half of this oat mixture to your prepared pan. Use a spatula to press it down firmly into an even layer, creating a solid base. Keep the remaining half of the oat mixture in the pot for the topping.
- In a separate pot, gently melt the chocolate chips and creamy peanut butter together over low heat until the mixture is completely smooth and glossy.
- Pour this warm chocolate and peanut butter mixture carefully over the oat layer in your pan.
- Take the reserved oat mixture and gently crumble it over the top of the chocolate layer. Use your hands or a spatula to press it in lightly so it adheres to the filling.
- Melt your extra chocolate chips and drizzle them artfully over the top of the bars.
- Cover the pan securely and place it in the refrigerator for several hours until firm.
Pro Tip: Always allow the bars to sit at room temperature for about 10 to 15 minutes before slicing. This prevents the chocolate layer from cracking while you cut, giving you clean, professional-looking squares.
Recipe Tips
- Consistency Matters: Be sure to keep the heat on the lower side when melting the chocolate and peanut butter. High heat can cause the chocolate to seize or burn, which affects the final texture.
- Press Firmly: When creating the bottom layer, take your time pressing the oats into the pan. A compact base is the secret to a bar that holds together well once chilled.
- Storage: Keep these bars in the refrigerator to maintain their shape, especially during warmer months. They can also be kept in an airtight container to keep them fresh.
FAQs
Can I use rolled oats instead of quick oats?
While quick oats are preferred for their smaller size and better texture in this recipe, rolled oats can be used if that is what you have on hand. Just keep in mind that the resulting bar will be slightly more textured and chewy.
How long do these stay good in the fridge?
These bars are best consumed within 5 to 7 days when stored in an airtight container in the refrigerator.
Why did my chocolate layer crack?
This usually happens if you try to slice the bars while they are still extremely cold and firm from the refrigerator. Bringing them to room temperature briefly before slicing makes all the difference.
Serving Suggestions
These bars are wonderful on their own, but they pair beautifully with a glass of cold milk or a hot cup of coffee. They are the perfect size for packing in a lunch box or serving at a casual afternoon tea. For a more indulgent dessert, you could serve a square slightly warmed up with a small scoop of vanilla bean ice cream on the side.
Make This Recipe in Advance
These bars are the ultimate make-ahead treat. Because they require several hours of chilling, it is actually beneficial to prepare them the day before you plan to serve them. This ensures they are perfectly set and easy to cut. Simply keep them covered and chilled until you are ready to plate them for your guests.

No Bake Chocolate Oat Bars
- Total Time: 3 hours 40 minutes
- Yield: 16 servings 1x
Description
These no bake chocolate oat bars offer a perfect harmony of buttery, toasted oats and a rich, creamy chocolate peanut butter center.
Ingredients
1 cup butter
1/2 cup brown sugar, (packed)
1 teaspoon vanilla extract
3 cups quick cooking oats
1 cup semisweet chocolate chips
1/2 cup creamy peanut butter
chocolate chips, (for drizzle)
Instructions
1. Prepare a 9×9-inch pan by greasing it or lining it with parchment paper.
2. Melt the butter in a medium pot. Add the brown sugar and vanilla, then stir in the oats. Cook on low heat for a few minutes.
3. Transfer half of the oat mixture to the prepared pan and press it down with a spatula. Set aside the remaining oat mixture for the topping.
4. In a separate pot, melt the chocolate chips and peanut butter together over low heat until smooth. Pour this mixture over the oat layer in the pan.
5. Gently crumble the reserved oat mixture over the chocolate layer, pressing it in lightly.
6. Melt the extra chocolate chips and drizzle them over the top of the bars.
7. Cover the pan and refrigerate for several hours. Allow the bars to come to room temperature before slicing.
Notes
Consistency Matters: Be sure to keep the heat on the lower side when melting the chocolate and peanut butter. High heat can cause the chocolate to seize or burn, which affects the final texture.
Press Firmly: When creating the bottom layer, take your time pressing the oats into the pan. A compact base is the secret to a bar that holds together well once chilled.
Storage: Keep these bars in the refrigerator to maintain their shape, especially during warmer months. They can also be kept in an airtight container to keep them fresh.
- Prep Time: 30 minutes
- Cook Time: 10 minutes
- Category: Dessert
- Cuisine: American
Nutrition
- Calories: N/A
- Fat: N/A
- Carbohydrates: N/A
- Protein: N/A