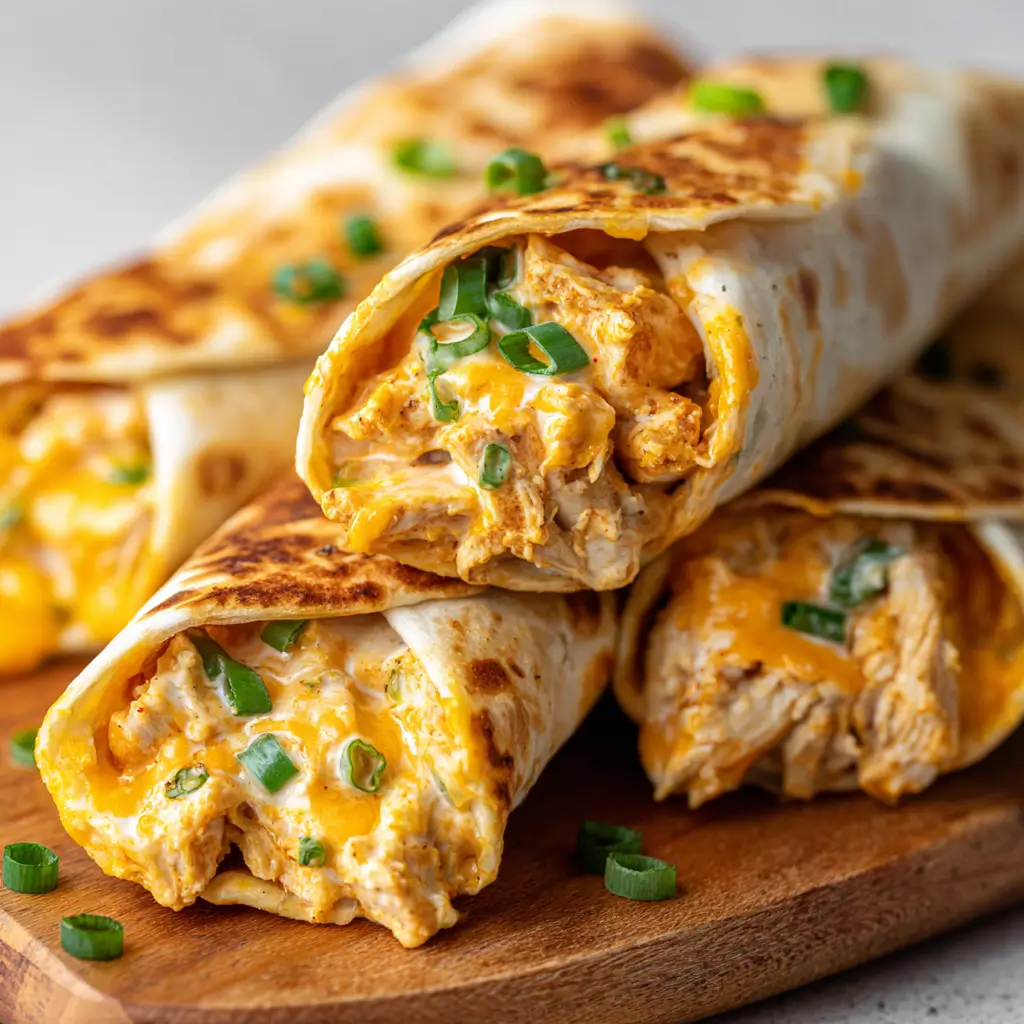
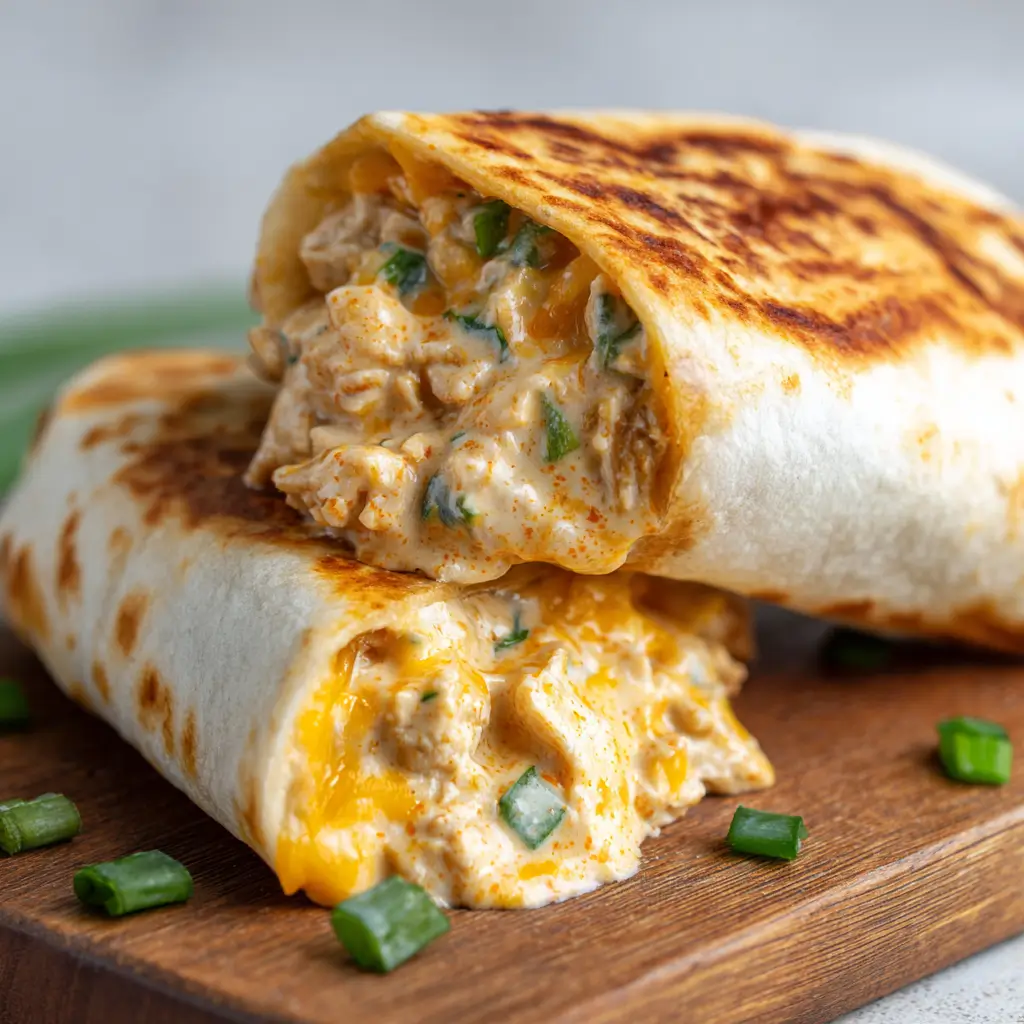
These Creamy Cheesy Garlic Chicken Wraps are a quick and satisfying meal that transforms simple cooked chicken into a decadent handheld delight. Packed with savory garlic, melted cheddar, and a creamy sauce with a kick of heat, they are toasted to golden perfection for a satisfying crunch.
Whether you need a speedy lunch or a light dinner, these protein-packed wraps deliver big flavor with minimal effort.
Recipe Details
- Flavor Profile: A savory mix of garlic and cheddar is balanced by the tangy creaminess of Greek yogurt and mayo, with a subtle spicy kick from the hot sauce.
- Texture: The crispy, pan-toasted tortilla encases a warm, gooey, and tender chicken filling.
- Time: 10 minutes prep, 8 minutes cook time.
- Difficulty: Very Easy. It involves mixing a filling and a quick pan-fry.
What You’ll Need
To make this recipe, you will need a small mixing bowl to combine the chicken filling and a non-stick pan with a lid for cooking. The lid is crucial for melting the cheese inside without burning the tortilla. The ingredients rely on pre-cooked chicken (rotisserie works great), tortillas, and pantry staples like mayo, yogurt, and hot sauce.
Ingredient Notes
- Cooked Chicken – You need about 7 oz of chopped cooked chicken. This is a perfect way to use up leftover roast chicken or meal-prepped breast.
- Tortillas – Use large tortillas (burrito size) so you have enough room to fold the sides in. Low-carb or high-protein wraps work perfectly here too.
- Cheddar Cheese – Grated cheddar adds sharpness and a great melt.
- Greek Yogurt & Mayo – A blend of light mayonnaise and light Greek yogurt creates a creamy binder that is lighter than using just mayo but still rich.
- Garlic – Fresh minced garlic provides a punchy, savory flavor that defines the wrap.
- Hot Sauce – A splash of Frank’s RedHot (or similar) adds tang and a mild heat that cuts through the creaminess.
- Green Onion – Chopped green onions add a fresh, crisp bite to the warm filling.
Add-ins and Substitutions
- Vegetables – You can add diced bell peppers or spinach to the chicken mixture for extra nutrients.
- Spice Level – Adjust the hot sauce to your taste. Sriracha can be used instead of Frank’s for a different kind of heat.
- Cheese – Pepper Jack or Monterey Jack are great melting alternatives to cheddar.
How to Make Creamy Cheesy Garlic Chicken Wraps
- Mix Filling: In a bowl, combine the chopped cooked chicken, minced garlic, light mayonnaise, Greek yogurt, hot sauce, and a pinch of salt. Stir until the chicken is evenly coated in the creamy sauce.
- Assemble: Lay a tortilla flat. Sprinkle about 2 tablespoons of the grated cheddar cheese along the lower third of the tortilla. Spoon roughly ⅔ cup of the chicken mixture on top of the cheese layer. Add another tablespoon of cheese and a sprinkle of chopped green onion on top.
- Roll: Fold in the sides of the tortilla towards the center, then roll it up tightly from the bottom to enclose the filling completely. Repeat for the second wrap.
- Heat Pan: Heat a non-stick pan over medium-high heat and lightly spray with olive oil.
- Cook: Place the wraps seam-side down in the hot pan. Cook for 3–4 minutes on each side, until golden brown and crispy. Important: Cover the pan with a lid while cooking. This traps the heat and ensures the filling warms through and the cheese melts before the tortilla burns.
- Serve: Remove from the pan, slice in half diagonally, and serve hot.
Pro Tip: Placing the wrap seam-side down first seals it shut as it crisps, preventing it from unrolling when you flip it. Using the lid is the secret to a hot, melty center without a burnt crust.
Recipe Tips
- Don’t Overfill: It can be tempting to stuff the wraps, but if they are too full, they will be hard to roll and might burst in the pan.
- Chop Chicken Small: Chop your chicken into small, bite-sized pieces so it mixes well with the sauce and makes the wrap easier to eat.
- Fresh Grated Cheese: Grating your own cheese ensures the best melt, as pre-shredded cheese often has anti-caking agents.

FAQs
- Can I use canned chicken? Yes, canned chicken works well. Just drain it thoroughly before mixing.
- Can I air fry these? Absolutely. Spray the wraps with oil and air fry at 375°F for 6-8 minutes, flipping halfway.
- How do I store leftovers? These are best eaten fresh while crispy. If storing, keep in the fridge for up to 2 days and reheat in a skillet or air fryer to re-crisp.
Serving Suggestions
- Soup: Pair with a bowl of tomato soup for a comforting lunch.
- Salad: Serve with a side salad or cucumber slices for a lighter meal.
- Dip: Extra hot sauce or ranch dressing makes a great dip.
Make This Recipe in Advance
- Filling Prep: You can mix the chicken filling a day or two in advance and store it in the fridge.
- Assembly: You can roll the wraps in the morning and keep them in the fridge, then just pan-fry them when you are ready to eat.

Creamy Cheesy Garlic Chicken Wraps
- Total Time: 18 minutes
- Yield: 2 Wraps 1x
Description
These Creamy Cheesy Garlic Chicken Wraps are a quick and satisfying meal that transforms simple cooked chicken into a decadent handheld delight. Packed with savory garlic, melted Cheddar, and a creamy sauce with a kick of heat, they are pan-toasted to golden perfection for a satisfying crunch. Whether you need a speedy lunch or a light dinner, these protein-packed wraps deliver big flavor with minimal effort.
Ingredients
The Chicken Filling
- 7 oz cooked chicken, chopped (approx. 1.5 cups)
- 2 garlic cloves, minced
- 2 tablespoons light mayonnaise
- 1 tablespoon light Greek yogurt (or plain yogurt)
- 2 teaspoons hot sauce (e.g., Frank’s RedHot)
- 1/4 teaspoon salt
The Wraps
- 2 large tortillas (burrito size; regular, low-carb, or high-protein)
- 3 oz Cheddar cheese, grated (approx. 3/4 cup)
- 1 green onion, chopped
- Olive oil spray (for the pan)
Instructions
Mix Filling
In a small bowl, combine the chopped cooked chicken, minced garlic, mayonnaise, Greek yogurt, hot sauce, and salt. Stir until the chicken is thoroughly coated in the creamy sauce.
Assemble
Lay a tortilla flat on a clean surface. Layer 1: Sprinkle about 2 tablespoons of grated Cheddar along the lower third of the tortilla. Layer 2: Spoon roughly half of the chicken mixture (approx. 2/3 cup) on top of the cheese. Layer 3: Top with another tablespoon of cheese and a sprinkle of chopped green onion.
Roll
Fold the sides of the tortilla in towards the center. Roll it up tightly from the bottom to enclose the filling completely. Repeat for the second wrap.
Heat Pan
Heat a non-stick skillet over medium-high heat. Lightly spray with olive oil.
Cook
Place the wraps seam-side down in the hot pan. Cover: Cover the pan with a lid (crucial step!). Toast: Cook for 3–4 minutes per side until golden brown and crispy. The lid traps the heat to melt the cheese before the tortilla burns.
Serve
Remove from the pan, slice in half diagonally, and serve hot.
Notes
Sealing the Deal: Always cook the wrap seam-side down first. The heat seals the tortilla shut so it doesn’t unroll when you flip it.
The Lid Trick: Don’t skip using the lid! Since the chicken is already cooked, you just need to heat the center and melt the cheese. The lid creates a mini oven effect to do this without scorching the outside.
Air Fryer Option: Spray the assembled wraps with oil and air fry at 375°F (190°C) for 6–8 minutes, flipping halfway through.
Leftover Hero: This is the perfect recipe for using up leftover rotisserie chicken or meal-prepped chicken breasts.
- Prep Time: 10 minutes
- Cook Time: 8 minutes
- Category: Lunch / Dinner
- Method: Stovetop / Pan-Fry
- Cuisine: American
Nutrition
- Serving Size: 1 Wrap
- Calories: 420
- Sugar: 2g
- Sodium: 650mg
- Fat: 22g
- Saturated Fat: 8g
- Unsaturated Fat: 8g
- Trans Fat: 0g
- Carbohydrates: 26g
- Fiber: 2g
- Protein: 32g
- Cholesterol: 95mg
Keywords: chicken wraps recipe, garlic chicken wrap, leftover chicken recipes, 15 minute lunch, crispy chicken wrap, cheesy chicken melt, easy wrap recipes