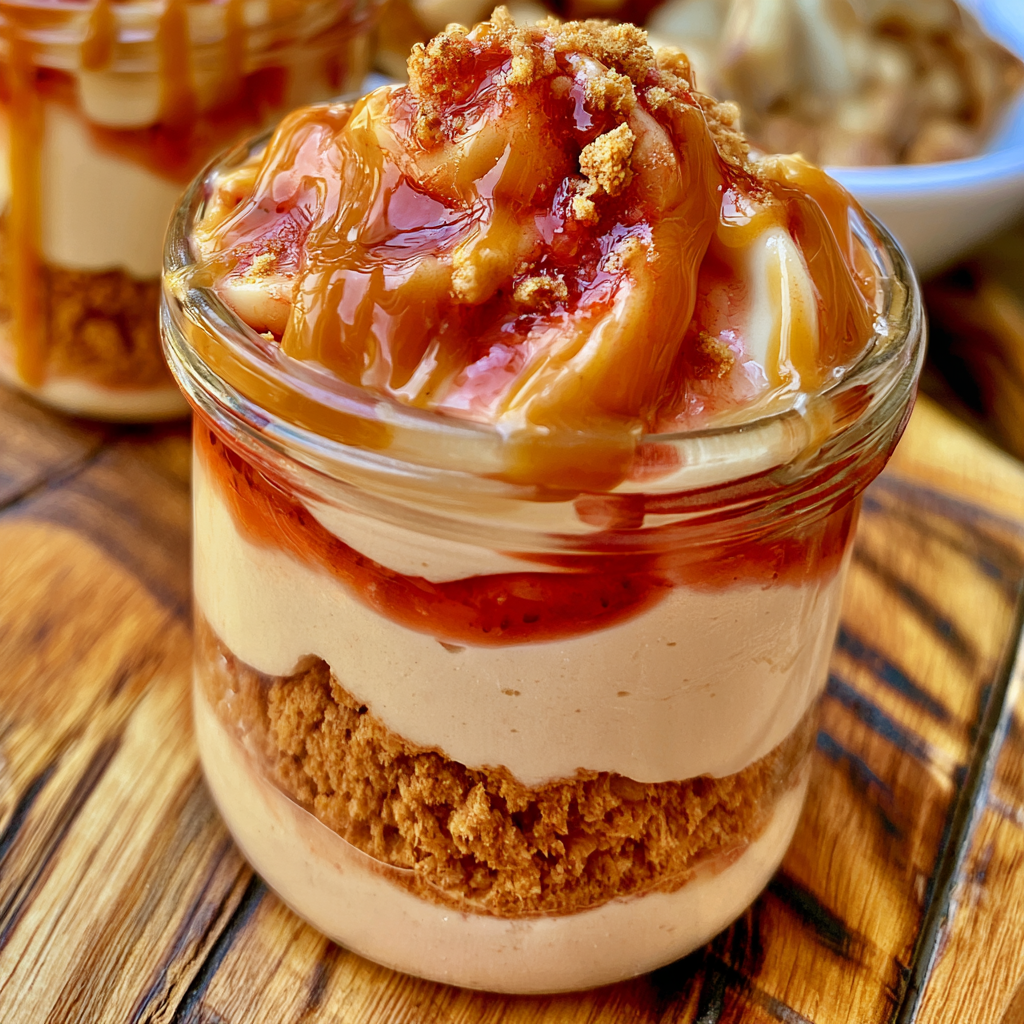
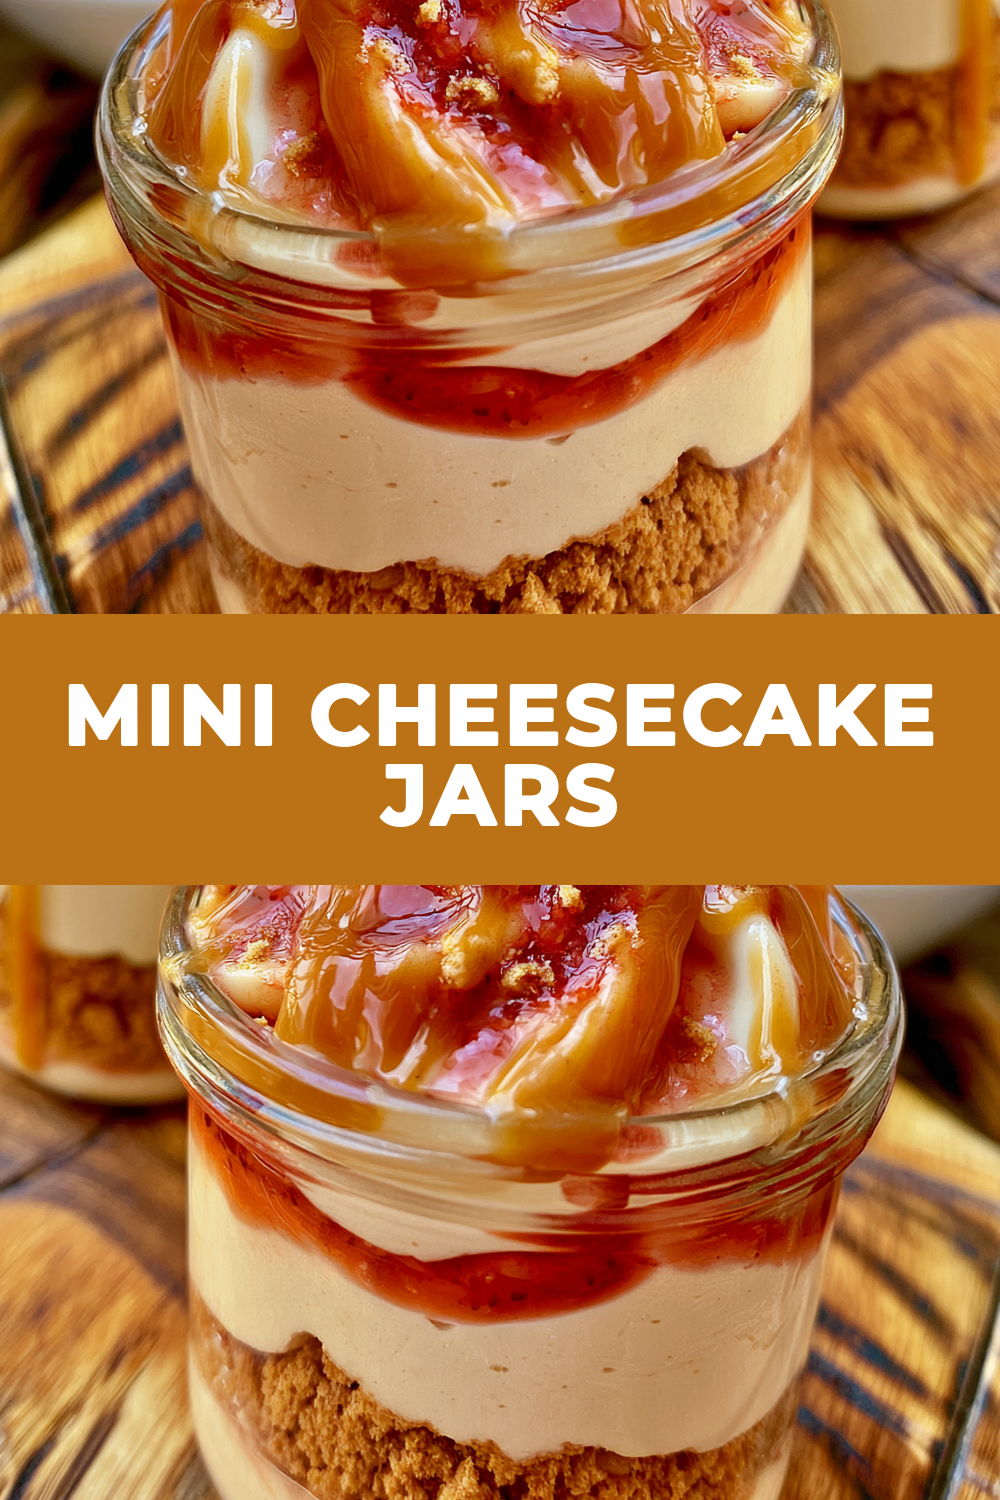
There is something undeniably charming about individual desserts, and these mini cheesecake jars are the perfect treat for any occasion. Each jar features a buttery, crisp crust layered with a light and velvety filling that melts in your mouth with every spoonful.
Whether you are hosting an intimate dinner or simply craving a sweet finish to your evening, these delightful little jars provide the ultimate decadent experience, especially when finished with a drizzle of fruit or caramel sauce.
Recipe Details
- Flavor Profile: Rich and tangy cream cheese balanced by a sweet, buttery graham cracker crust and a light, airy whipped finish.
- Textures: A crisp base contrasted with a smooth, cloud-like cheesecake filling.
- Total Time: Approximately 15 minutes of active preparation time, plus 1 to 2 hours of chill time.
- Difficulty Level: Easy and beginner-friendly, requiring basic mixing and folding techniques.
What You’ll Need
To create these elegant desserts, you will need a handful of pantry staples. The foundation relies on high-quality cream cheese and fresh heavy cream to achieve the signature richness, while the crust adds that essential toasted texture that defines a classic cheesecake.
Ingredient Notes
- Graham Cracker Crumbs: These provide the classic base for your cheesecake. You can buy them pre-crushed or crush whole sheets in a sealed bag with a rolling pin.
- Unsalted Butter: Make sure it is fully melted so it binds evenly with the crumbs, creating a solid, buttery base once chilled.
- Heavy Cream: Use cold heavy cream directly from the refrigerator to ensure it whips up into beautiful, stable peaks.
- Cream Cheese: Ensure your cream cheese is at room temperature so that it whisks into a perfectly smooth, lump-free consistency.
- Vanilla Extract: A high-quality pure vanilla extract adds a lovely aromatic depth to the filling.
Add-ins and Substitutions
- Crust Variations: You can substitute graham cracker crumbs with crushed digestive biscuits or even gingersnap cookies for a spiced twist.
- Flavor Infusions: Add a teaspoon of lemon zest to the cream cheese mixture for a bright, citrusy profile.
- Topping Customizations: While strawberry and caramel sauces are favorites, you can also use chocolate ganache, toasted nuts, or fresh seasonal berries to personalize your jars.
How to Make Mini Cheesecake Jars
Creating these desserts is a straightforward process that rewards you with a professional-looking result. Follow these steps to ensure the perfect texture and presentation.
- Start by mixing 1/2 cup graham cracker crumbs, 3 tbsp unsalted butter (melted), and 1/2 tsp sugar in a small bowl until the mixture resembles wet sand. Divide this crust mixture evenly between 2 large or 4 small jars. Press it down slightly and place the jars in the refrigerator to set while you prepare the filling.
- In a stand mixer fitted with the whisk attachment, beat 1 cup heavy cream until soft peaks form. Once you achieve this consistency, remove the whipped cream from the bowl and set it aside for a moment.
- In the same mixing bowl, combine 8 ounces cream cheese, 4 tbsp sugar, and 1 tsp vanilla extract. Whisk these ingredients until the mixture is completely smooth and free of lumps.
- Carefully and gently fold the prepared whipped cream into the cream cheese mixture by hand. This folding process is key to maintaining the light, airy texture of the cheesecake filling.
- Spoon or pipe the finished filling into your jars, layering it over the chilled crust. Place the jars in the refrigerator for 1 to 2 hours, or until the filling has fully set.
- Serve the jars chilled, topping them with your choice of strawberry sauce, caramel sauce, or fresh fruit for a beautiful presentation.
Pro Tip: To get those clean, professional layers, use a piping bag to add your cheesecake filling to the jars. It prevents the filling from smearing against the sides of the glass, keeping your presentation crisp and elegant.
Recipe Tips
- Watch the Peaks: When beating the heavy cream, keep a close eye on the mixer. You want soft peaks, which means the cream holds its shape but the tips curl over when you lift the whisk.
- Room Temperature Cream Cheese: This is non-negotiable for a smooth filling. If the cream cheese is too cold, you will end up with tiny lumps that are difficult to whisk away.
- Chill Time: Do not rush the chilling process. The time in the refrigerator allows the butter in the crust to firm up and the filling to stabilize, ensuring that every bite is perfect.
- Gentle Folding: When combining the two mixtures, use a spatula and a light hand. Over-mixing at this stage can deflate the whipped cream and result in a denser filling.
FAQs
Can I make these in advance?
Yes, these mini cheesecake jars are perfect for preparing ahead. They can be stored in the refrigerator for up to 2 days before serving, making them an excellent choice for stress-free hosting.
Do I need a stand mixer?
While a stand mixer makes the process very quick, you can also use a high-quality hand mixer. Just be sure to whisk the cream and the cream cheese thoroughly to achieve the desired consistency.
Can I freeze these?
While the texture is best when fresh, you can keep them in the refrigerator, but it is not recommended to freeze them as the texture of the whipped cream and cream cheese can change upon thawing.
Serving Suggestions
- Serve these alongside a warm cup of coffee or tea to balance the creamy sweetness.
- For a summer gathering, top the jars with a handful of fresh raspberries or sliced strawberries to complement the strawberry sauce.
- If you are serving these as part of a larger dessert spread, place them on a tray with a few mint sprigs for a pop of color and a fresh finish.
Make This Recipe in Advance
Because these jars need at least 1 to 2 hours to set in the refrigerator, they are naturally suited for advance preparation. You can assemble them the morning of your event or even the night before. Keep them covered with airtight lids or plastic wrap to ensure they stay fresh and do not absorb any odors from the refrigerator. Simply add your fresh fruit or sauce toppings right before you are ready to serve for the best flavor and appearance.

Mini Cheesecake Jars
- Total Time: 1 hour 15 minutes
- Yield: 2 large or 4 small jars 1x
Description
These elegant mini cheesecake jars feature a buttery graham cracker crust topped with a light, velvety cream cheese filling for the perfect decadent dessert.
Ingredients
1/2 cup graham cracker crumbs
3 tbsp unsalted butter (melted)
1/2 tsp sugar
1 cup heavy cream
8 ounces cream cheese
4 tbsp sugar
1 tsp vanilla extract
strawberry sauce for serving, if desired
caramel sauce for serving, if desired
Instructions
1. Mix graham cracker crumbs, melted butter, and sugar in a small bowl until it resembles wet sand. Divide the crust mixture evenly between 2 large or 4 small jars, then chill in the refrigerator to set while you prepare the filling.
2. In a stand mixer with the whisk attachment, beat the heavy cream until soft peaks form. Remove the whipped cream from the bowl and set it aside.
3. Add the cream cheese, sugar, and vanilla extract to the same mixing bowl. Whisk until the mixture is smooth and lump-free. Gently fold the whipped cream into the cream cheese mixture by hand.
4. Spoon or pipe the cheesecake filling into the jars over the chilled crust. Refrigerate for 1 to 2 hours, or until set.
5. Serve chilled, topping with strawberry sauce, caramel sauce, or fresh fruit if desired.
Notes
Watch the Peaks: When beating the heavy cream, keep a close eye on the mixer. You want soft peaks, which means the cream holds its shape but the tips curl over when you lift the whisk.
Room Temperature Cream Cheese: This is non-negotiable for a smooth filling. If the cream cheese is too cold, you will end up with tiny lumps that are difficult to whisk away.
Chill Time: Do not rush the chilling process. The time in the refrigerator allows the butter in the crust to firm up and the filling to stabilize, ensuring that every bite is perfect.
Gentle Folding: When combining the two mixtures, use a spatula and a light hand. Over-mixing at this stage can deflate the whipped cream and result in a denser filling.
- Prep Time: 15 minutes
- Cook Time: 0 minutes
- Category: Dessert
- Cuisine: American
Nutrition
- Calories: N/A
- Fat: N/A
- Carbohydrates: N/A
- Protein: N/A