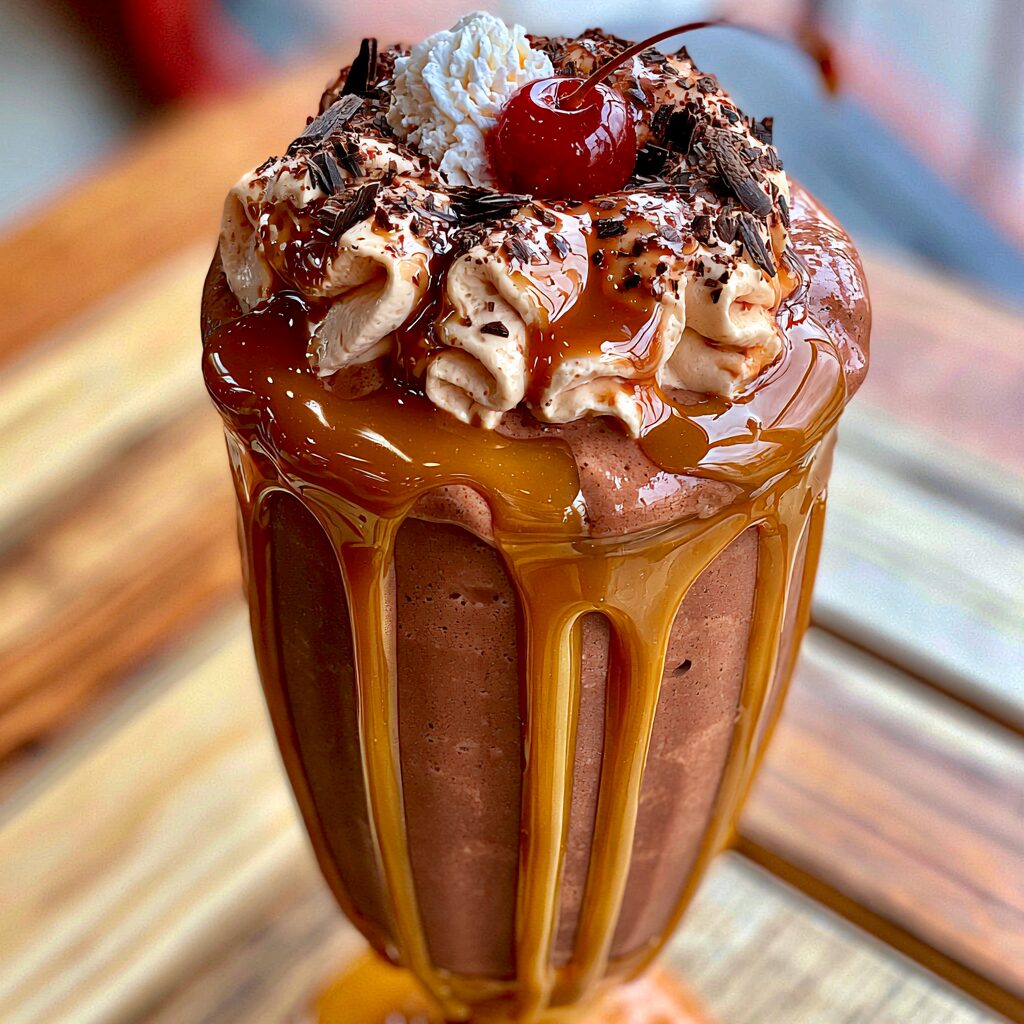
This dreamy chocolate milkshake is the ultimate treat, blending rich cocoa with creamy ice cream for a velvety smooth dessert experience that’s simply irresistible. It’s the perfect pick-me-up or sweet ending to any meal, and so easy to whip up whenever a craving strikes.
Get ready to sip on pure bliss with this wonderfully rich and satisfying chocolate milkshake.
Recipe Details
- Flavor Profile: Intensely chocolatey with a perfect balance of sweetness and creamy richness.
- Textures: Luxuriously smooth, thick, and utterly decadent.
- Total Active Time: About 5 minutes.
- Difficulty Level: Easy – requires minimal effort and no special skills.
What You’ll Need
To create this delightful chocolate milkshake, you’ll primarily need a blender to combine your ingredients into a perfectly smooth concoction. You’ll also need a way to serve your milkshake, typically tall glasses and perhaps a straw to enjoy every last drop. The beauty of this recipe lies in its simplicity, relying on a few key ingredients to achieve that classic, comforting flavor.
Ingredient Notes
- Chocolate Ice Cream – This is the star of our show. Use a good quality, rich chocolate ice cream for the best flavor and texture. The colder and firmer it is, the thicker your milkshake will be.
- Milk – Whole milk creates the creamiest milkshake, but you can certainly use 2%/half-and-half for a lighter, though still delicious, version.
- Unsweetened Cocoa Powder – This adds an extra layer of deep chocolate flavor that takes your milkshake from good to absolutely spectacular. Make sure it’s unsweetened to control the overall sweetness.
- Vanilla Extract – A little goes a long way to enhance the chocolate flavor and add a warm, subtle undertone.
- Sugar (optional) – Depending on the sweetness of your ice cream and your personal preference, you might want to add a touch of sugar. Granulated sugar dissolves easily, but powdered sugar blends in most seamlessly.
Add-ins and Substitutions
- Chocolate Chips – For an even more intense chocolate experience, stir in a few tablespoons of mini chocolate chips before blending, or even add a drizzle of chocolate syrup to the glass before pouring.
- Whipped Cream and Shavings – Top your finished milkshake with a generous dollop of whipped cream and some chocolate shavings or a sprinkle of cocoa powder for that classic diner feel.
- Different Milks – While whole milk yields the creamiest result, feel free to experiment with almond milk, oat milk, or soy milk if you have dietary preferences or simply want to try a different flavor profile. Just know that the texture might be slightly less thick.
- Extract Variations – A tiny splash of peppermint extract can transform your chocolate milkshake into a refreshing mint-chocolate delight.
How to Make Dreamy Chocolate Milkshake
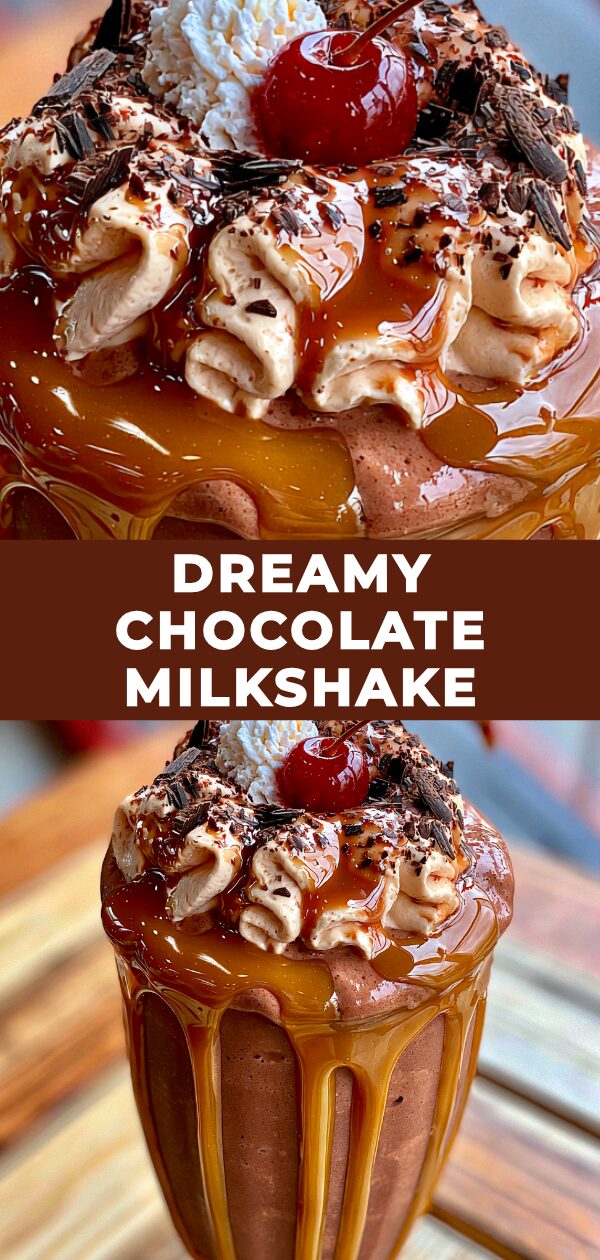
Whipping up this delightful treat is incredibly straightforward. Simply gather your ingredients, add them to your blender, and let it do the work. The key is achieving that perfect, thick, and creamy consistency that makes a milkshake truly dreamy.
- Combine Ingredients: In your blender jar, combine the chocolate ice cream, milk, unsweetened cocoa powder, vanilla extract, and sugar (if using).
- Blend Smooth: Secure the lid on your blender and process until the mixture is completely smooth and creamy. You may need to stop and scrape down the sides of the blender a time or two to ensure everything is well incorporated.
- Check Consistency: If the milkshake is too thick for your liking, add a splash more milk and blend again briefly until the desired consistency is reached. If it’s too thin, you can add a few more scoops of ice cream and blend until thickened.
- Serve Immediately: Pour the dreamy chocolate milkshake into chilled glasses and serve right away for the best texture and temperature.
- Pro Tip: For the thickest, most decadent milkshake, make sure your ice cream is well-frozen and hard. If your ice cream is a bit soft, consider popping it in the freezer for about 30 minutes before you start.
Recipe Tips
- Chill Your Glassware: For an extra touch of elegance and to keep your milkshake colder for longer, chill your serving glasses in the freezer for at least 15–20 minutes before you begin making the milkshake.
- Don’t Over-Blend: While you want the milkshake to be smooth, over-blending can gently melt the ice cream, leading to a thinner consistency than you might desire. Blend just until everything is combined and smooth.
- Adjust Sweetness: Taste your milkshake before pouring. If it’s not sweet enough, add a little more sugar or sweetened condensed milk and blend for a few more seconds. Remember, the sweetness of ice cream can vary greatly.
- Scoop vs. Pour: If your ice cream is very hard, using a sturdy ice cream scoop to break it up slightly before adding it to the blender can make it easier on your blender’s motor.
FAQs
- Can I make this milkshake without ice cream? While this recipe is specifically designed with ice cream for that classic milkshake texture, you could try blending frozen bananas with cocoa powder, milk, and sweetener for a different, but also delicious, dairy-free “nice cream” style treat.
- How do I make my milkshake thicker? The easiest way to achieve a thicker milkshake is to use very firm, frozen ice cream. You can also use less milk, or add a few ice cubes (though this can dilute the flavor slightly). Freezing your blender jar for a bit beforehand can also help.
- Can I make this ahead of time? Milkshakes are best enjoyed immediately after preparation when they are at their peak creamy, cold perfection. If you absolutely must, you can store it in the freezer for a short period, but be aware it will likely become too firm to drink easily and will need to be re-blended or allowed to soften.
Serving Suggestions
- Serve with a fun straw and perhaps a maraschino cherry on top.
- A side of chocolate chip cookies or brownies makes this treat even more indulgent.
- For a lighter accompaniment, a simple fruit salad can offer a refreshing contrast to the richness.
- Drizzle extra chocolate syrup around the glass before pouring for a visually appealing presentation.
Make This Recipe in Advance
This Dreamy Chocolate Milkshake is best enjoyed fresh, as the texture and temperature are optimal right after blending. However, you can prepare certain elements in advance. You can measure out your cocoa powder, sugar, and vanilla extract into a small container and have it ready. If you find yourself craving this treat often, keeping a good quality chocolate ice cream on hand in your freezer is key to a quick indulgence.
Print
Dreamy Chocolate Milkshake Recipe
- Total Time: 5 minutes
- Yield: 1 serving 1x
Description
This dreamy chocolate milkshake is the ultimate treat, blending rich cocoa with creamy ice cream for a velvety smooth dessert experience that’s simply irresistible. It’s the perfect pick-me-up or sweet ending to any meal, and so easy to whip up whenever a craving strikes. Get ready to sip on pure bliss with this wonderfully rich and satisfying chocolate milkshake.
Ingredients
3 generous scoops premium chocolate ice cream
1/2 cup whole milk
2 tablespoons chocolate syrup
1/2 teaspoon pure vanilla extract
Whipped cream and a cherry (for topping)
Instructions
1. Chill your milkshake glass in the freezer for 10 minutes.
2. Combine the chocolate ice cream, milk, chocolate syrup, and vanilla extract in a blender.
3. Start blending on low speed, then increase to high for 15 to 20 seconds until smooth and creamy.
4. Adjust thickness by adding milk for a thinner shake or ice cream for a thicker one, one tablespoon or scoop at a time.
5. Pour the milkshake into the chilled glass.
6. Finish with a generous topping of whipped cream and a cherry, and serve right away with a straw.
Notes
For an extra touch of elegance and to keep your milkshake colder for longer, chill your serving glasses in the freezer for at least 15–20 minutes before you begin making the milkshake.
While you want the milkshake to be smooth, over-blending can gently melt the ice cream, leading to a thinner consistency than you might desire. Blend just until everything is combined and smooth.
Taste your milkshake before pouring. If it’s not sweet enough, add a little more sugar or sweetened condensed milk and blend for a few more seconds. Remember, the sweetness of ice cream can vary greatly.
If your ice cream is very hard, using a sturdy ice cream scoop to break it up slightly before adding it to the blender can make it easier on your blender’s motor.
- Prep Time: 5 minutes
- Cook Time: 0 minutes
- Category: Dessert
- Cuisine: American